How We Achieve Our Signature Backlit Look
Why we love backlight so much and how we pull it off.
Hi everyone, Thomas here.
One of the most frequent questions I get is how I pull off the dreamy backlit photos we are known for. Before diving into my personal approach, I want to introduce the concept of backlit photography and why it’s so special—and sometimes tricky to master.
Understanding the Magic of Backlit Photography
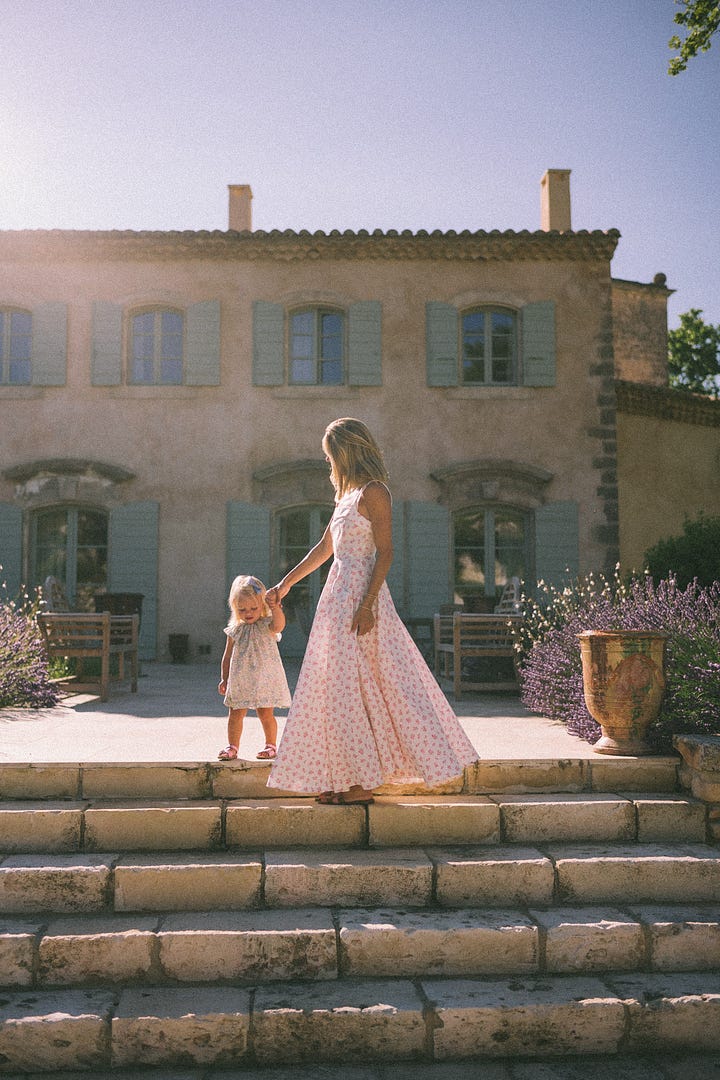
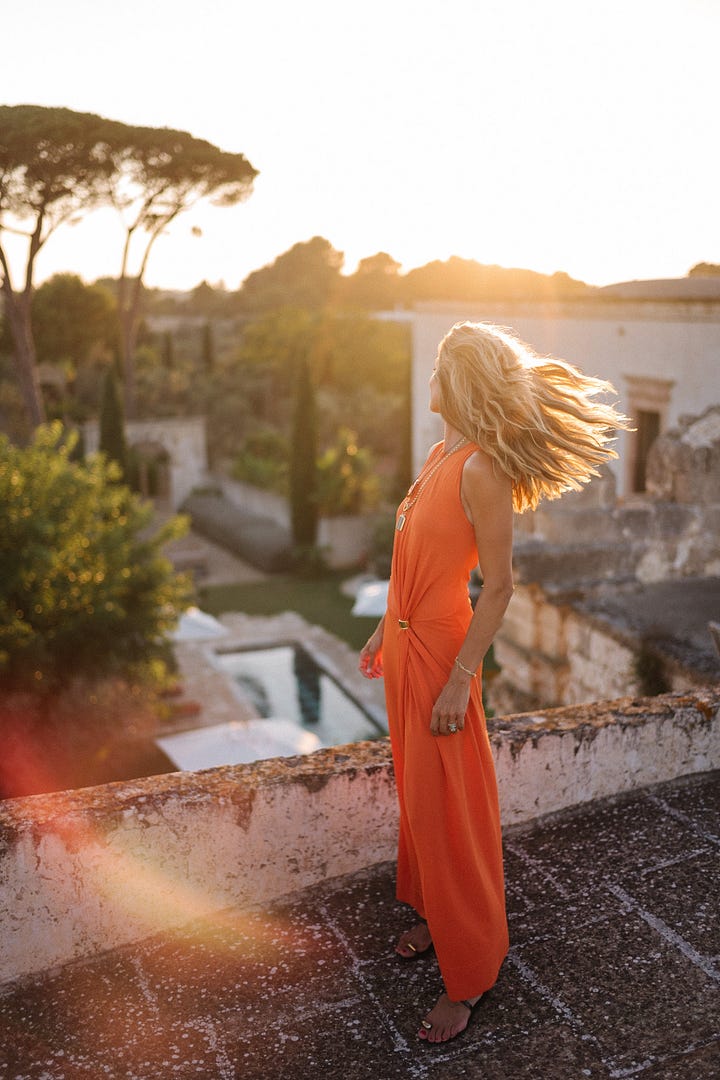
Backlit photography is all about placing your main light source (usually the sun) behind your subject so that it illuminates the scene from the back. This creates a soft glow or ‘halo’ effect around the edges, making the subject look almost ethereal or dreamlike. When done right, backlit images have a romantic, whimsical feel that immediately draws the viewer in.
Why It’s So Dreamy
Soft Glow Around the Subject: The light wraps delicately around hair, clothing, or other details, creating a gentle, luminous aura.
Warm Tones: Especially during golden hour, the setting or rising sun can bathe your subject in flattering, natural warmth.
Enhanced Depth: The subtle contrast between brighter edges and softer shadows can make images appear more three-dimensional.
Why It’s Technically Challenging
Exposure Dilemmas: The bright light in the background can fool your camera’s meter, leading to underexposed subjects or blown-out highlights.
Lens Flare: Excessive flare can reduce contrast and clarity, leaving your image looking washed out.
Focus Issues: In strong backlight, your camera might struggle to lock focus on your subject’s face.
What Happens If You Get It Wrong
Hazy, Washed-Out Images: If too much light hits your lens directly, you might lose detail or end up with distracting color casts.
Subject Silhouette: Without enough fill light or correct metering, you could unintentionally end up with a silhouette instead of a softly lit portrait.
Unflattering Shadows: Harsh backgrounds and incorrect angles may lead to awkward shadows on faces or other important areas of your composition.
These challenges can be frustrating, but once you understand how to manage lens flare, control exposure, and choose the right angles, backlit shots can become the highlight of your portfolio.
Below, I’ll walk you through the exact methods I use, from pre-shoot planning to post-production fine-tuning, to ensure I get that dreamy look without sacrificing clarity.
1. Finding the Light & Positioning the Subject
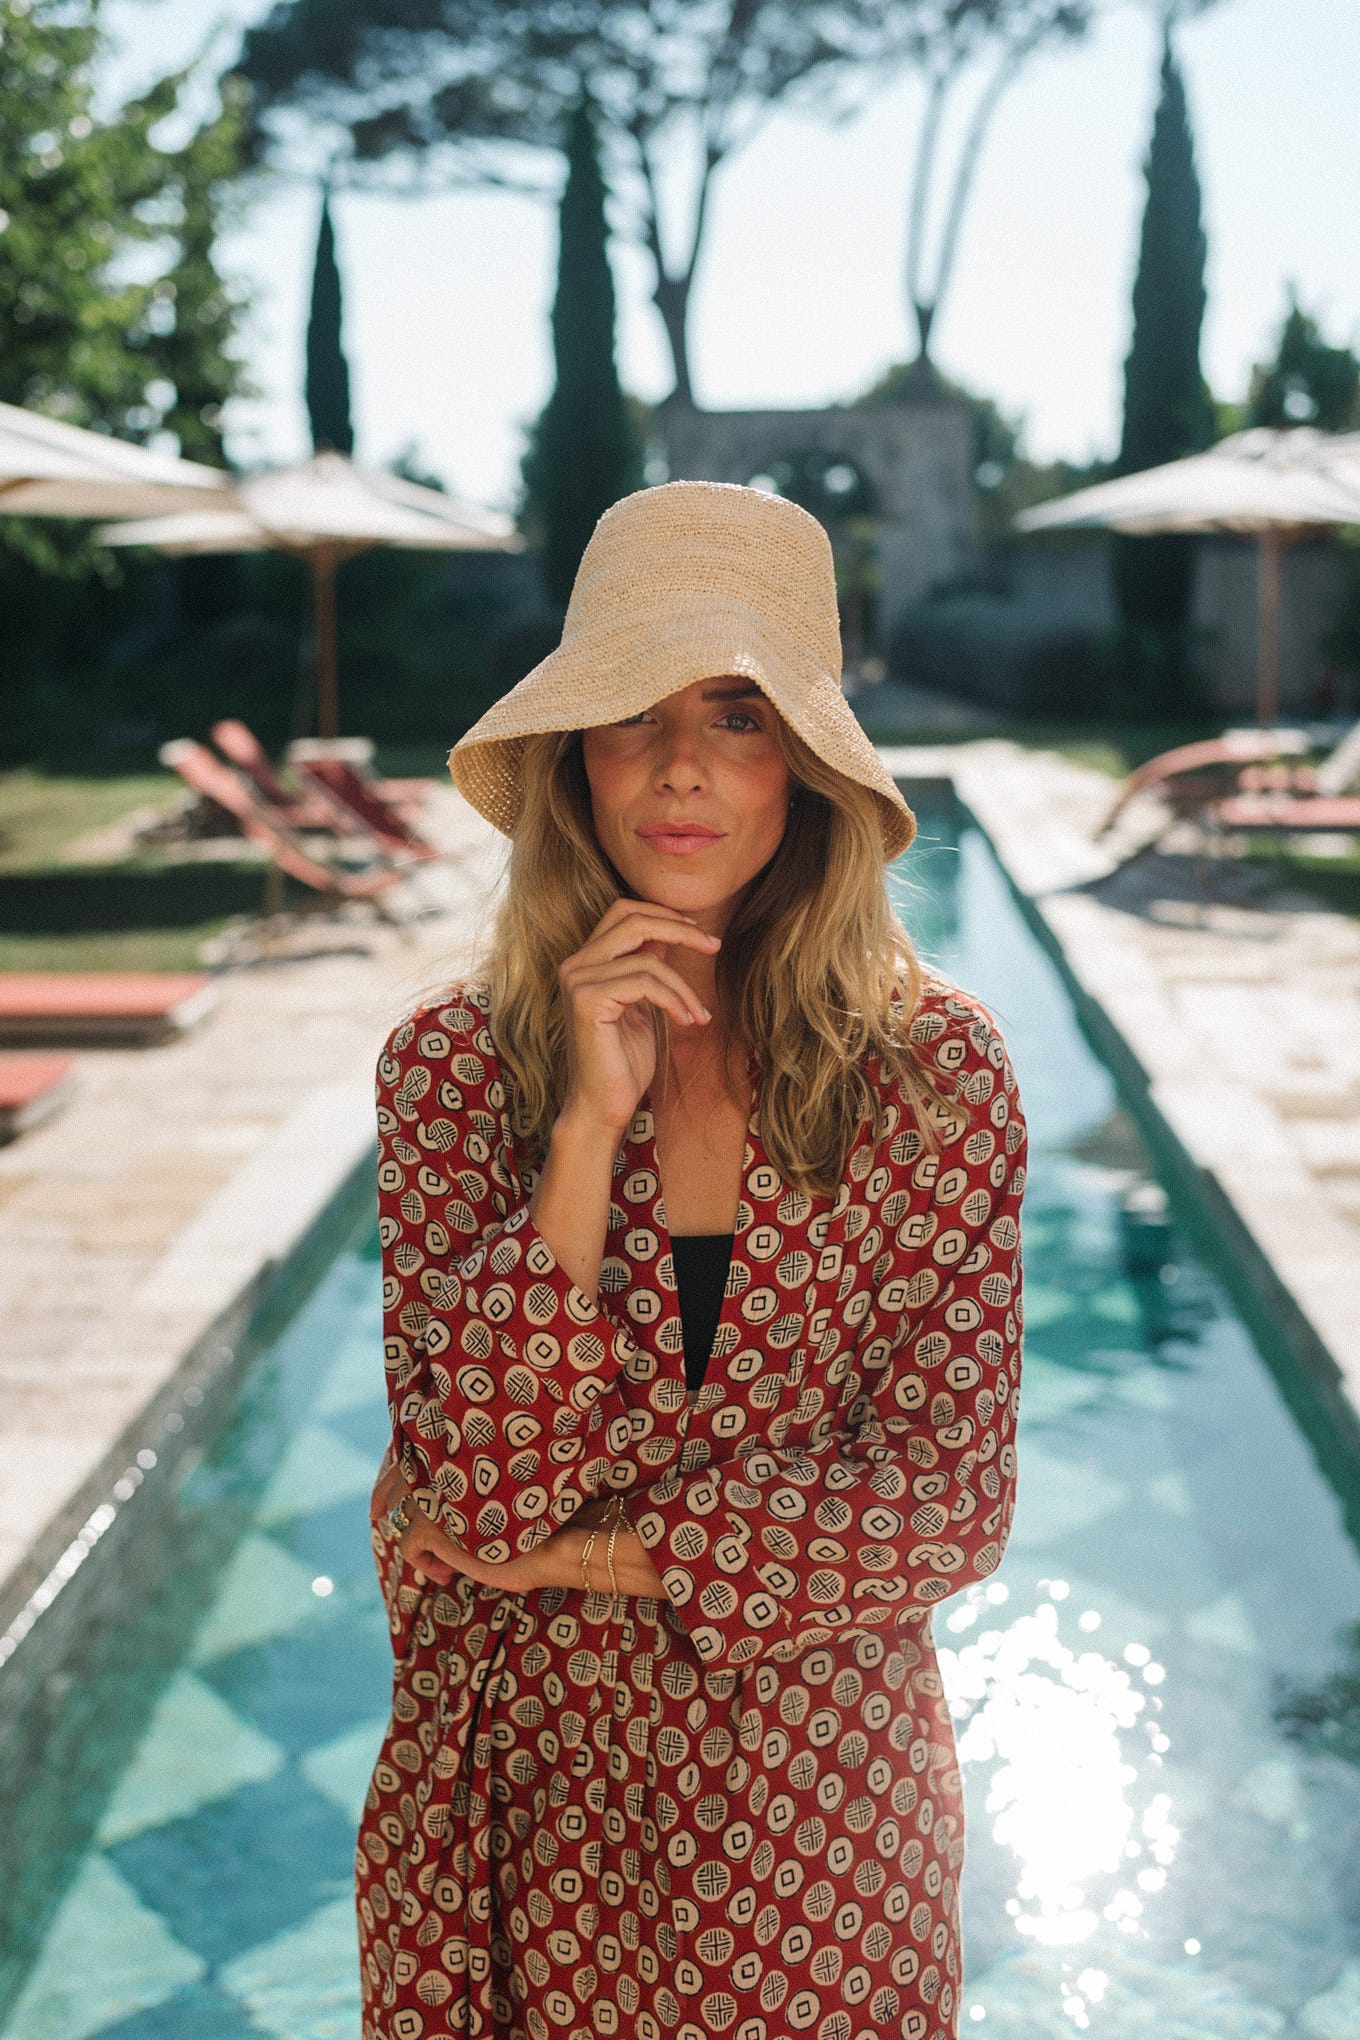
When I'm positioning my subject my goal is normally to place them inside the beautiful backlight while positioning myself to catch very little of the direct light into my camera. As I mentioned you get the beautiful light, a bit of flare but importantly higher contrast in the image which shows off detail, which I think is important not to lose. Here's specifically how I try to achieve that:
Keep the Sun Off-Center Instead of putting the sun directly behind my subject (which can wash out the shot), I prefer to set up so the sun is just skimming their shoulder or peeking around their head. This positioning captures a beautiful halo of light while maintaining detail in the rest of the image.
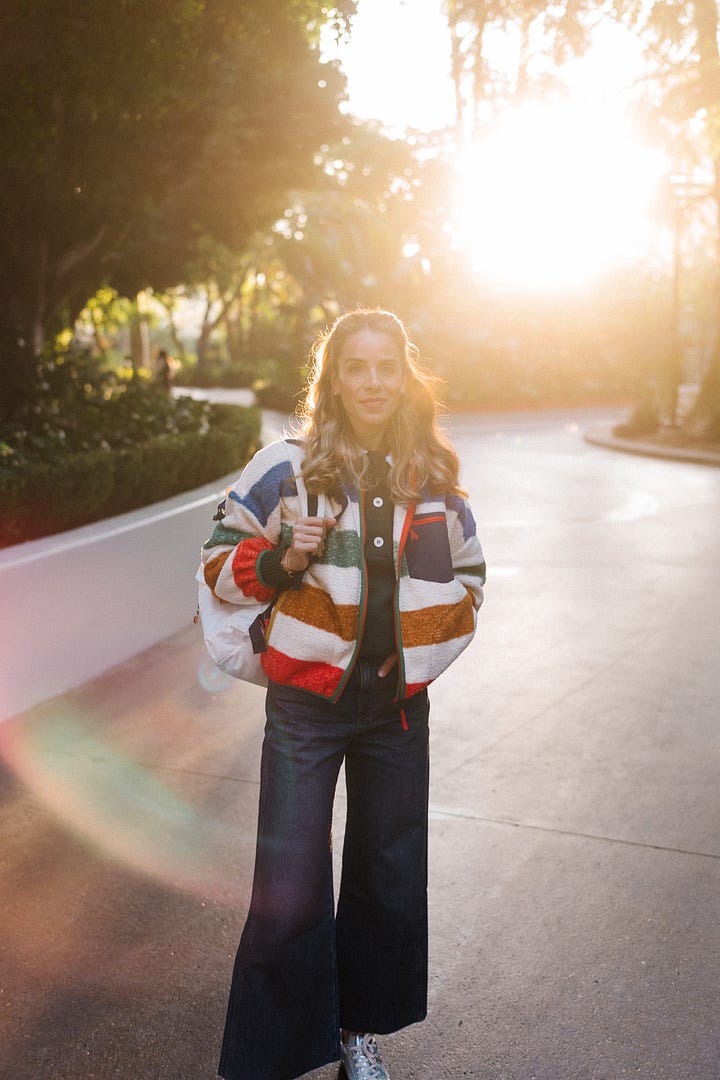
Embrace a Darker Backdrop A background in shade or naturally darker tones allows the glow on my subject to truly pop. I’ll look for trees, buildings, or any structure behind them that is slightly subdued. The contrast ensures the subject stands out in a subtle, dreamy way.
Managing Flare A touch of flare can look magical, but too much can overwhelm the shot. Using a lens hood or something like a branch or a shaded structure to block direct light from hitting the lens helps me control how much flare sneaks into my frame. On an iPhone, which doesn't have a lens hood, you could use a credit card or your hand just out of frame to block some of the flare. One more way to handle the flare is to put the sun directly behind the subject, this is difficult to pull off so make sure to follow the exposure tips in the next section.
2. Camera & Exposure Tips
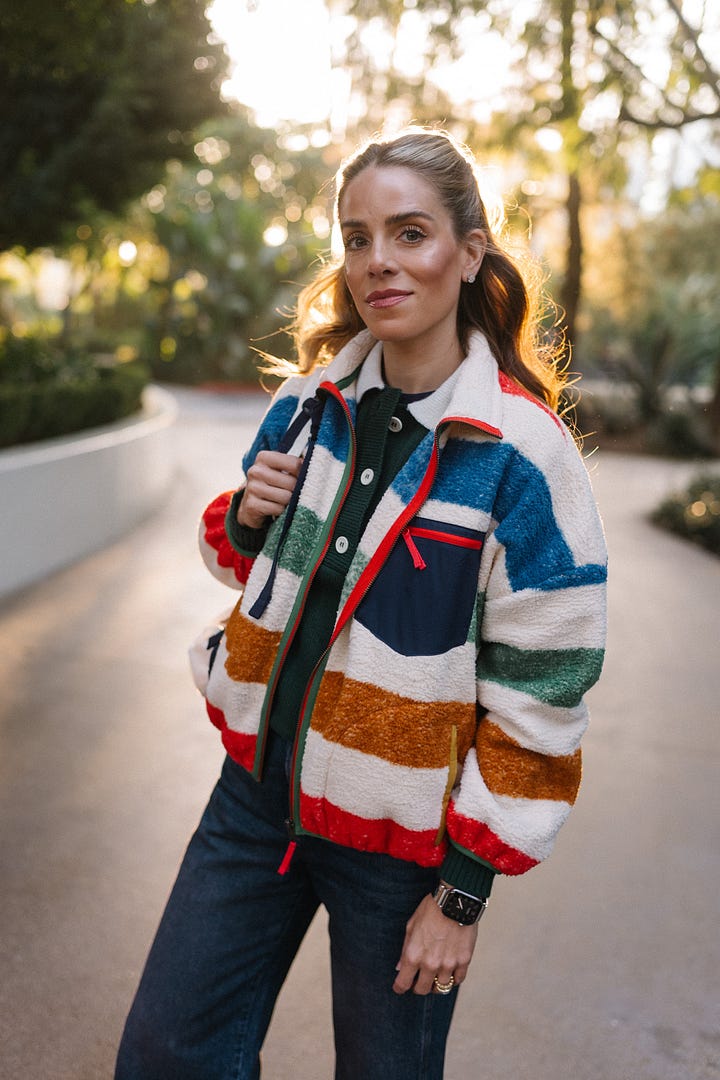
Spot Meter on the Subject I often switch to spot metering (or manually expose) and aim at my subject’s face or body, ensuring they’re correctly exposed even if the background is bright. Checking my histogram also helps confirm I’m not losing essential details. When I review photos I've taken I'll step into the shade or shade the camera screen with my body that helps me more accurately be able to review exposure of the shot.
Aperture & Depth Shooting with a wider aperture (like f/1.8–f/2.8) not only delivers that creamy background blur but also emphasizes the gentle radiance coming from behind the subject. It brings out an airy, light-filled vibe.
Quick Tip If you find your subject too dark, consider adding a subtle fill light from the front or using a reflector to bounce some light back onto them. This keeps the shot balanced without undoing that backlit magic. Some of my favorite backlit photos ever had a natural fill light from a nearby light colored building or car window that was reflecting light back onto Julia. While challenging for other reasons shooting on a light sand beach also helps create nice natural fill light.
A Few Notes About Editing
Editing backlit photos is just as crucial as capturing them, but it’s easy to overdo things. AI tools in apps like Lightroom make it simpler than ever to fine-tune your subject and background. We typically begin by adjusting exposure and white balance, then apply timeless, film-inspired presets that preserve a soft glow. Targeted edits with radial filters or AI selection help brighten faces or bring out details in shadows without sacrificing naturalness. For consistency, we repeat similar steps across a session to create a cohesive look. Always remember that less is often more—let the beauty of the light itself shine through.
4. Summary & Key Takeaways
Position the sun slightly off to one side (rather than directly behind) to avoid harsh flares.
While keeping your subject in the backlight, choose darker or shaded backgrounds to highlight that glowing rim of light around your subject.
Use spot metering to properly expose your subject, and keep an eye on the histogram.
In post, focus on subtle enhancements—nudging white balance, using a light touch with contrast, and applying a timeless preset for a cohesive finish.
That’s our recipe for the iconic backlit shots you often see in our portfolio, inspired by a recent paying subscriber’s chat question. Give it a try on your next shoot (even if just shooting on iPhone), and don’t hesitate to experiment with different angles or minimal editing tweaks to find the look that suits your style. If you have any questions, feel free to drop a comment or reach out—I’m always happy to help fellow photographers chase that perfect glow.
Thanks for reading, and happy shooting!
—Thomas


Great post and very well explained thank you ! Do you guys sell presets?
Great post Thomas! Loved learning the technical aspects and small details like positioning the sun slightly off center. Excited to explore this. Do you ever use masking when editing to make your subject pop more? I’ve recently started playing around with it and excited about the freedom it gives to play around with the image. Would love to hear your thoughts on the “proper” use of masking techniques.